Night photography transforms familiar scenes into magical landscapes, revealing details invisible to the naked eye. From star-filled skies to the vibrant energy of city lights, photographing after dark presents unique challenges and extraordinary creative opportunities. In this comprehensive guide, we'll explore the techniques, equipment, and creative approaches that will help you master the art of night photography.
The Magic of Photographing After Dark
Night photography allows you to capture scenes in ways that most people never experience. The extended exposure times reveal cumulative light that our eyes can't perceive, resulting in images with ethereal qualities and dramatic impact. While technically demanding, the rewards of successful night photography are well worth the effort.
Essential Equipment for Night Photography
Night photography demands certain equipment to achieve optimal results:
Camera Requirements
- Manual mode capability is essential for complete control over exposure settings
- Good high-ISO performance helps capture cleaner images in low light
- Bulb mode allows exposures longer than 30 seconds
- Electronic viewfinder (for mirrorless cameras) offers the advantage of seeing your exposure in real-time
Lenses for Night Photography
The ideal lens depends on your subject matter:
- Wide-angle lenses (14-24mm) are perfect for astrophotography and nightscapes
- Fast lenses (f/2.8 or wider) gather more light, allowing faster shutter speeds or lower ISO
- Standard zoom lenses (24-70mm) work well for urban night photography
Essential Accessories
- Sturdy tripod: The most critical accessory for night photography, as it keeps your camera stable during long exposures
- Remote shutter release: Prevents camera shake when triggering the shutter
- Extra batteries: Long exposures and cold night temperatures drain batteries faster
- Headlamp: Preferably with a red light mode to maintain night vision
- Lens cloth: For wiping away condensation or dew that forms on lenses at night
A sturdy tripod and remote release are essential for sharp night images.
Types of Night Photography
Night photography encompasses several distinct styles, each with its own techniques and challenges:
Astrophotography
Capturing the night sky, from simple starscapes to complex deep-sky objects, requires specific approaches:
Star Points
For sharp stars without trailing, follow these guidelines:
- Use the "500 Rule": Divide 500 by your lens focal length to determine the maximum exposure time before stars begin to trail (e.g., 500 ÷ 24mm = 20.8 seconds)
- For crop-sensor cameras, multiply your focal length by your crop factor first
- Use the widest aperture your lens allows (typically f/2.8 or wider)
- Set ISO between 1600-6400 depending on your camera's capabilities
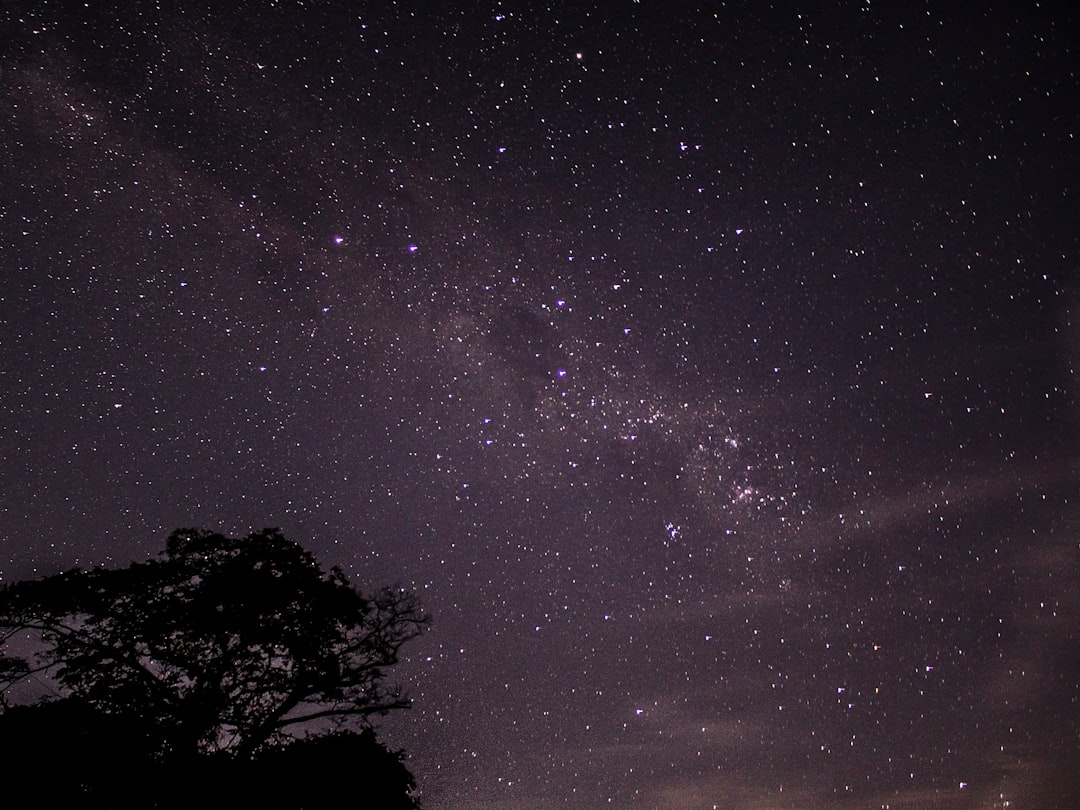
Milky Way Photography
Capturing our galaxy requires dark skies and careful timing:
- Plan your shoot during new moon periods and away from light pollution
- Use apps like PhotoPills or Stellarium to locate the Milky Way's position
- Include interesting foreground elements to create depth and context
- Consider blending multiple exposures: one for the sky and another for the foreground
Star Trails
Creating circular patterns of stars revolving around the celestial pole:
- Single long exposure method: Use bulb mode for exposures from 30 minutes to several hours
- Stacking method: Take multiple 30-second exposures and combine them in post-processing (reduces noise and battery drain)
- Point your camera north (in the Northern Hemisphere) or south (in the Southern Hemisphere) to capture circular patterns around the pole star
Urban Night Photography
Cities offer dynamic and colorful subjects after dark:
Cityscapes
- Shoot during the "blue hour" (just after sunset) when the sky retains deep blue color while city lights turn on
- Use apertures between f/8-f/11 for sharp images with starburst effects from light sources
- Consider HDR techniques to handle the extreme dynamic range of bright lights and dark shadows
Light Trails
- Find locations with consistent traffic flow
- Use exposures between 5-30 seconds depending on traffic speed and desired effect
- Experiment with zooming during exposure for dynamic abstract effects
Long exposures transform moving vehicle lights into dramatic streaming lines.
Low-Light Landscape Photography
Natural landscapes take on ethereal qualities at night:
- Moonlit landscapes allow for lower ISOs and more detail than shooting under starlight alone
- Use the moon phase to your advantage: full moon for well-lit landscapes, crescent moon for a balance of moonlight and stars
- Consider light painting to selectively illuminate foreground elements
Camera Settings for Night Photography
While settings vary by subject, these general guidelines will help you start on the right track:
Exposure Triangle Considerations
- Aperture: Use the widest aperture your lens allows for astrophotography (f/1.4-f/2.8); stop down (f/8-f/11) for cityscapes to create sharper images with starburst effects from light sources
- Shutter Speed: Varies dramatically based on subject—from seconds for urban scenes to minutes for star trails
- ISO: Balance between gathering enough light and managing noise; modern cameras can often handle ISO 3200-6400 with acceptable results
Other Important Settings
- White Balance: Manual setting between 3200K-4000K works well for most night scenes; shoot in RAW for maximum flexibility in post-processing
- Focus: Autofocus often fails in low light; switch to manual focus and use:
- Live view magnification on a bright star or distant light
- Focus at infinity during daylight and mark the position on your lens
- Hyperfocal distance techniques for scenes with both near and far elements
- Long Exposure Noise Reduction: This camera setting can help reduce thermal noise but doubles your exposure time
Creative Techniques in Night Photography
Beyond the basics, these creative approaches can elevate your night photography:
Light Painting
Using portable light sources to selectively illuminate elements in your scene:
- Use flashlights, LED panels, or even smartphone lights to paint during long exposures
- Vary the distance and duration of the light for different effects
- Try colored gels for creative lighting effects
Combining Day and Night
Create surreal images by blending exposures from different times:
- Use a tripod in the exact same position to capture the same composition at different times
- Blend the exposures in post-processing for day-to-night transition effects
Reflections
Water surfaces create stunning mirror effects at night:
- Look for still water to capture perfect reflections of city lights or stars
- Include both the subject and its reflection in your composition
Planning Your Night Photography Session
Successful night photography requires more planning than daytime shooting:
Location Scouting
- Visit locations during daylight to identify composition possibilities and potential hazards
- Use apps like PhotoPills, The Photographer's Ephemeris, or PlanIt Pro to predict celestial events and positions
- For astrophotography, check light pollution maps to find dark sky locations
Weather Considerations
- Clear skies are essential for astrophotography
- Partially cloudy conditions can add drama to urban night photography
- Monitor humidity levels—high humidity can cause lens condensation
Safety Precautions
- Always inform someone of your planned location and return time
- Bring a friend when possible, especially in remote or urban areas
- Carry extra batteries, water, and appropriate clothing for temperature changes
- Use reflective markers on your tripod to prevent tripping hazards
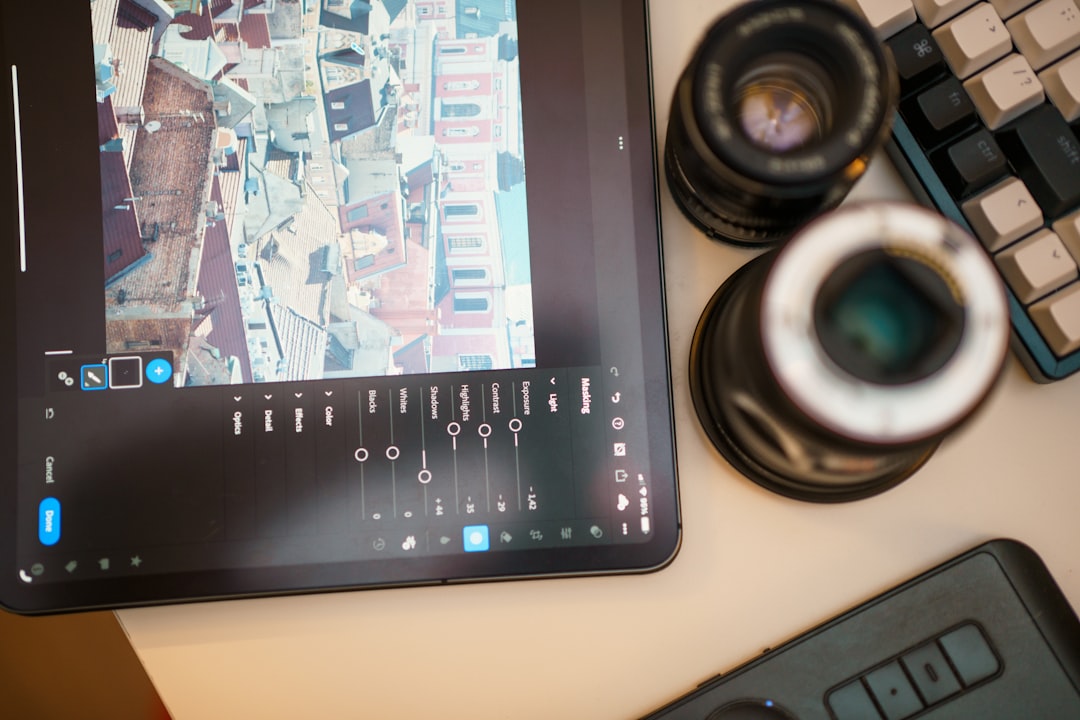
Post-Processing Night Photography
Night images often require more processing than daytime shots:
Essential Adjustments
- Noise reduction: Balance between removing noise and preserving detail
- White balance adjustment: Fine-tune color temperature to create the desired mood
- Selective adjustments: Use masks to separately process the sky and foreground
- Dehaze and clarity: Carefully applied to enhance details in the Milky Way
Advanced Techniques
- Image stacking: Combining multiple exposures to reduce noise
- Exposure blending: Merging differently exposed images for foreground and sky
- Star reduction: Selectively reducing the brightness of stars to emphasize the Milky Way's structure
Common Challenges and Solutions
Night photography presents several technical challenges:
Noise Management
- Shoot at your camera's native ISO whenever possible
- Consider the "expose to the right" technique (slightly overexpose without clipping highlights)
- Use image stacking to reduce noise in post-processing
Achieving Sharp Focus
- Use live view magnification on a bright star or distant light
- Focus at infinity during daylight and mark the position
- Take test shots and check sharpness at 100% magnification
Condensation Issues
- Allow your equipment to acclimate to outdoor temperatures before opening camera bags
- Use anti-dew heaters or hand warmers around your lens
- Keep silica gel packets in your camera bag
Conclusion: Embracing the Night
Night photography requires patience, technical knowledge, and a sense of adventure, but the results can be among the most rewarding and unique images in your portfolio. The night reveals scenes that most people never witness, offering photographers a chance to create truly magical images.
As you venture into night photography, remember that each session is a learning experience. Don't be discouraged by initial challenges—embrace the process of experimentation and gradual improvement. Over time, you'll develop the skills and intuition to consistently capture the wonder and beauty of the world after dark.
Pack your tripod, charge your batteries, and step into the night. A world of photographic possibilities awaits.