Portrait photography is an intimate art form that captures not just a person's appearance, but their essence, personality, and emotions. Whether you're photographing professional models, family members, or clients, the goal remains the same: to create compelling, authentic portraits that reveal something meaningful about your subject. In this comprehensive guide, we'll explore the essential techniques and approaches to elevate your portrait photography.
The Heart of Portrait Photography: Connection
Before diving into technical aspects, it's crucial to understand that exceptional portrait photography begins with genuine human connection. The most technically perfect portrait will fall flat if it doesn't capture something authentic about the subject.
Building Rapport
Many people feel uncomfortable in front of a camera. Your first job as a portrait photographer is to put your subject at ease:
- Start with conversation - Spend time talking before picking up your camera
- Show genuine interest - Ask questions about their interests, experiences, and what they hope to convey in the portraits
- Provide direction - Most people appreciate clear guidance on what to do during the session
- Offer positive reinforcement - Share successful images during the shoot to build confidence

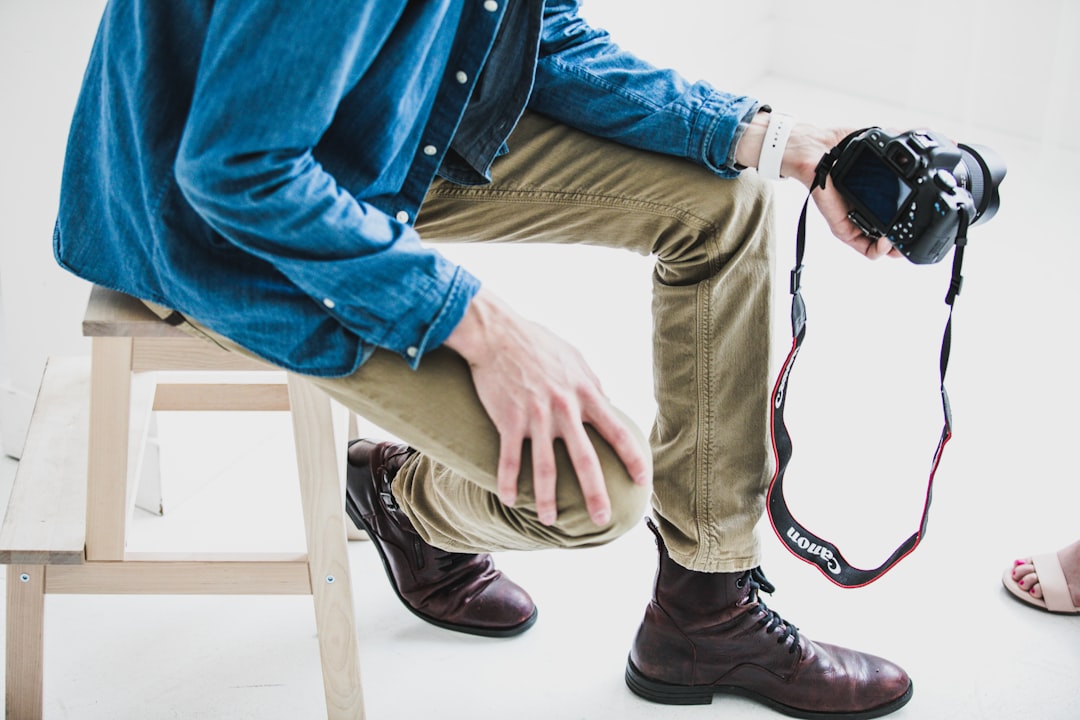
Building rapport with your subject is essential for natural, expressive portraits.
Essential Equipment for Portrait Photography
While stunning portraits can be created with minimal gear, certain equipment will expand your creative possibilities:
Camera Considerations
- Full-frame cameras offer superior low-light performance and shallower depth of field, but crop-sensor cameras can also produce excellent portraits
- Mirrorless cameras provide the advantage of real-time exposure preview and eye-detection autofocus, which can be invaluable for portraiture
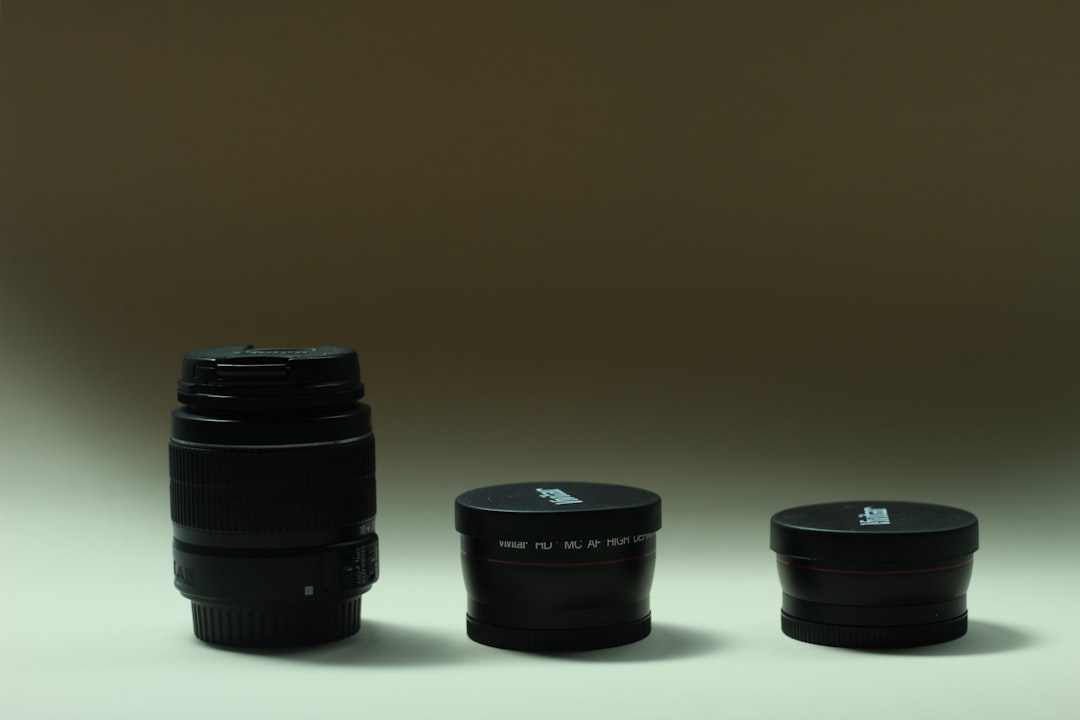
Lenses for Portraiture
Lens selection dramatically affects the look and feel of your portraits:
- 85mm prime lens (f/1.8 or f/1.4) - Often considered the ideal portrait focal length, providing flattering perspective and good subject separation
- 50mm prime lens - Versatile for environmental portraits and tighter spaces
- 70-200mm zoom lens - Excellent for compressing features and creating beautiful background blur
- 35mm prime lens - Wider perspective for environmental portraits that include more context
Prime lenses with wide apertures (f/1.8 or wider) are particularly valuable for portrait work, as they create pleasing background blur (bokeh) that helps isolate your subject.
Lighting Equipment
While natural light can produce stunning portraits, having these lighting tools expands your creative options:
- Reflectors - Affordable and versatile for bouncing light onto your subject
- External flash units - For adding controlled light in any environment
- Softboxes or umbrellas - To diffuse flash or continuous light for a softer, more flattering effect
- LED panels - Continuous light sources that allow you to see the effect in real-time
Mastering Portrait Lighting
Lighting is perhaps the most critical element in portrait photography. Understanding these classic lighting patterns will give you a solid foundation:
Natural Light Techniques
- Golden hour lighting - Shooting during the hour after sunrise or before sunset provides warm, directional light that's flattering for most subjects
- Open shade - Areas shaded from direct sunlight but open to the sky provide soft, even illumination
- Window light - A classic source for indoor portraits, creating directional but soft lighting
Classic Lighting Patterns
- Loop lighting - Creates a small shadow from the nose on the cheek, suitable for most face shapes
- Rembrandt lighting - Characterized by a triangle of light on the cheek opposite the light source, adds drama and dimension
- Butterfly lighting - Light positioned above and directly in front of the subject, creating a butterfly-shaped shadow under the nose; flattering for defined cheekbones
- Split lighting - Illuminates one half of the face while leaving the other in shadow, creating a dramatic effect

Rembrandt lighting creates a dramatic, dimensional portrait with a characteristic triangle of light on the cheek.
Camera Settings for Portraits
While there's no one-size-fits-all approach to camera settings, these guidelines will help you create technically sound portraits:
Aperture
For individual portraits where you want to separate your subject from the background:
- Use wide apertures (f/1.4 to f/2.8) for maximum background blur
- Consider stopping down slightly (f/2.8 to f/4) for group portraits to ensure everyone is in focus
- Be mindful of depth of field at very wide apertures - you may want the eyes in focus but find the nose or ears soft
Shutter Speed
- As a general rule, keep your shutter speed at 1/focal length or faster when shooting handheld (e.g., at least 1/85 second with an 85mm lens)
- For portraits with motion (dancing, jumping, etc.), use faster shutter speeds of at least 1/250 second
ISO
- Use the lowest ISO possible for the lighting conditions to minimize noise
- Don't be afraid to increase ISO in challenging lighting - a slightly noisy portrait is better than a blurry one
Focus
- For most portraits, focus on the eye closest to the camera
- Use single-point autofocus for precise control
- Consider eye-detection autofocus if your camera offers this feature
The Art of Posing
Effective posing makes your subjects look natural and flattering while conveying the desired mood of the portrait.
Fundamental Posing Guidelines
- Create triangles and space - Avoid having arms flat against the body; create angles with elbows and hands
- Mind the chin - Have subjects extend their chin slightly forward and down to define the jawline
- Pose hands deliberately - Hands should be relaxed, not showing full palms or clenched into fists
- Consider weight distribution - Having weight on the back foot creates a more relaxed, flattering pose
- Watch your angles - Shooting from slightly above eye level is typically flattering for most subjects
Beyond Basic Poses
Once you've mastered fundamentals, explore these approaches:
- Movement-based posing - Have subjects walk, twirl, or make small movements to create natural-looking images
- Prompted interactions - Ask couples or groups to interact with each other rather than pose stiffly
- Environmental interaction - Incorporate the location into poses by having subjects lean against walls, sit on steps, etc.
Composition for Impactful Portraits
Thoughtful composition elevates a simple portrait to an artistic statement:
Framing Decisions
- Rule of thirds - Place eyes or other key features along the grid lines or at intersection points
- Negative space - Strategic use of empty space can create powerful, minimalist portraits
- Frame within a frame - Use doorways, windows, or environmental elements to create natural frames around your subject
Background Considerations
- Look for clean, uncluttered backgrounds that won't distract from your subject
- Be aware of elements that appear to intersect with your subject (like trees or poles appearing to grow out of heads)
- Consider the color relationship between your subject and the background
Post-Processing for Portrait Photography
Effective editing enhances your portraits without making them look artificially processed:
Essential Adjustments
- Skin retouching - Focus on temporary blemishes while preserving skin texture and permanent features
- Color grading - Develop a consistent style that complements your subjects and the mood of the session
- Selective dodging and burning - Enhance the three-dimensionality of the face by subtly emphasizing highlights and shadows
Editing Philosophy
The best portrait editing is invisible - it enhances the subject's natural appearance without calling attention to the editing itself. Aim for timeless editing styles rather than trendy filters that may look dated in a few years.
Different Types of Portrait Photography
As you develop your portrait skills, you might want to explore these specialized areas:
Environmental Portraits
These portraits place subjects in meaningful locations that tell part of their story. Environmental portraits typically use wider focal lengths (24-50mm) to include context while maintaining focus on the subject.
Studio Portraits
Shooting in a controlled studio environment allows precise lighting setups and clean, consistent results. Studio portraits range from classic headshots to creative conceptual work.
Lifestyle Portraits
This documentary-inspired approach captures subjects engaged in authentic activities, resulting in natural, candid-looking images that still benefit from the photographer's guidance.
Conclusion: Developing Your Portrait Style
As you practice portrait photography, you'll naturally develop preferences for certain lighting styles, poses, and post-processing approaches. Embrace this evolution while continuing to experiment and refine your craft.
Remember that the most powerful portraits result from a combination of technical skill and genuine human connection. When your subject feels comfortable and seen, their authentic self shines through - and that's the true art of portrait photography.